
Many great artists produce their best work in a studio that is properly lit. Northern light is ideal for painters, but not every great painter has access to it. Direct sunlight produces stark contrasts and washed-out colors, and not all subjects lend themselves to northern light. In order to capture the most natural light in your studio, learn how to properly set your camera’s ISO and shutter speed. You may also want to adjust your aperture.
Set your camera’s white balance to 3500 Kelvin
The golden hour is the most popular photographic and filming time of day. The sun reaches its zenith in the west, causing light waves to travel farther than usual. These light waves contain a blue wavelength that disperses easily and spreads golden light across the landscape. The golden touch of light is lost when white balance is not accurately set. A camera will often set its white balance differently from shot to shot, leaving JPEG images looking quite different.
It is also helpful to understand the nuances of white balance. Knowing how to set your camera’s white balance will enable you to set your camera to appropriate lighting conditions and adjust its settings accordingly in post processing. The white balance setting on your camera is determined by its Kelvin rating. Changing it can give you a warmer or cooler look to your images. Here are some tips to set your camera’s white balance to the right color temperature:
Set your camera’s focus to infinity
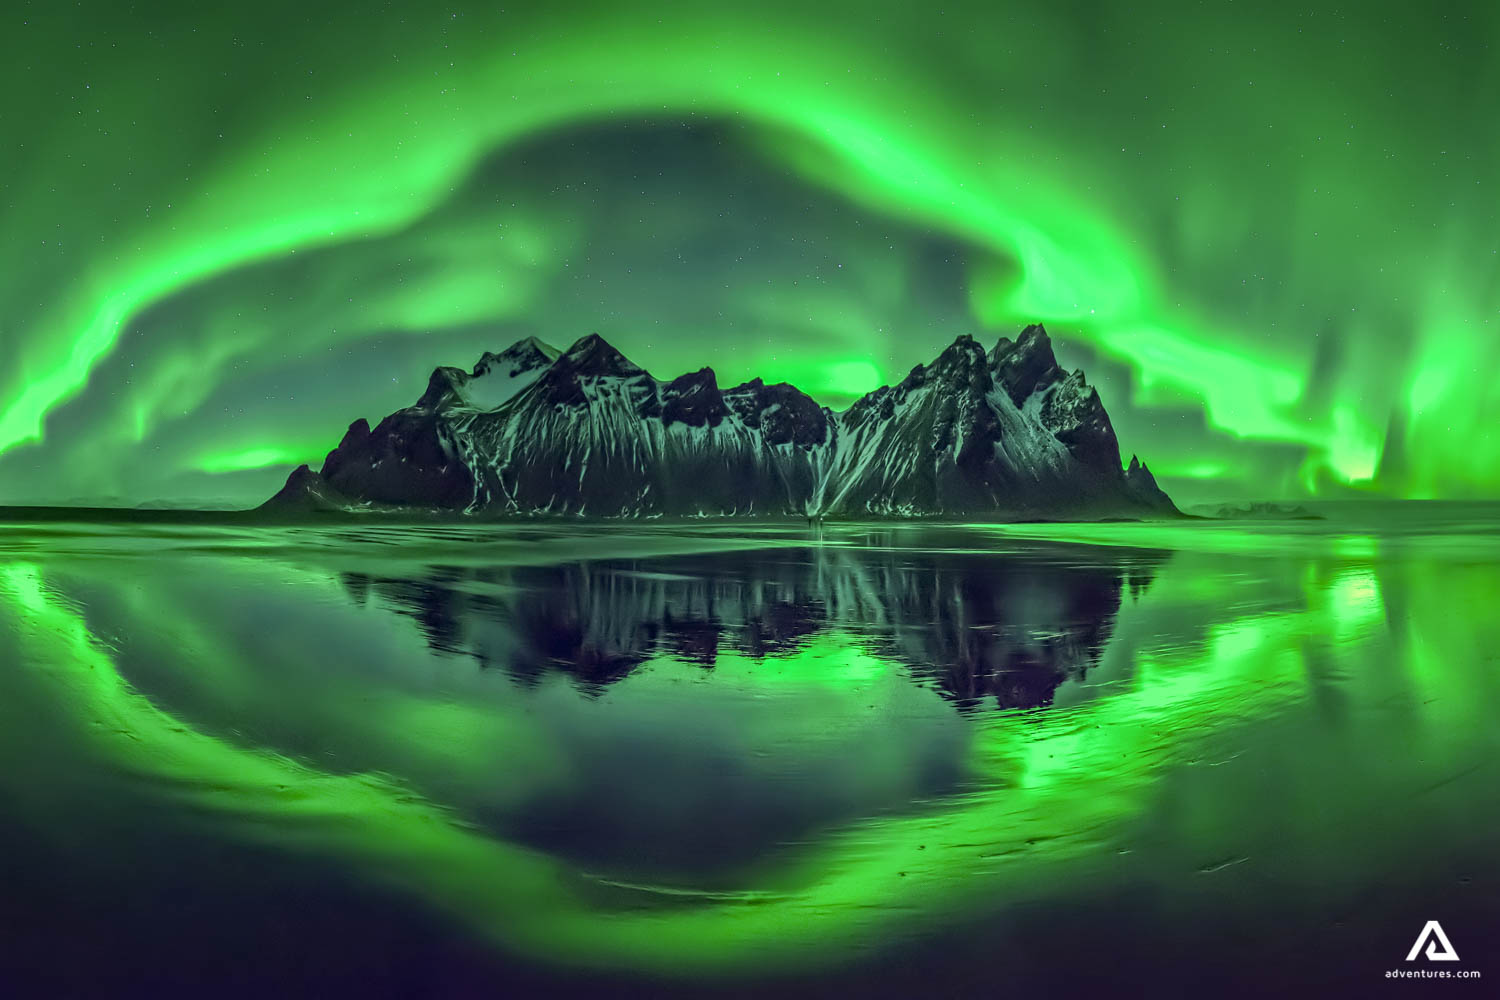
To take a great photograph of the Northern Lights, make sure to set your camera’s focus to infinity before you start shooting. Try focusing on a bright star or planet for a reference point. Then, use your camera’s focusing ring to move it manually to the sharpest point. You can use your camera’s metering mode to capture more light.
When shooting in a studio, try to use a wide-angle lens. The 24mm lens is ideal for this, as it will produce a very wide-angle image. Alternatively, you can use a narrow-angle lens. Make sure your camera’s aperture is wide open, like f/2.8, and keep focusing on infinity while practicing. You can also mark the focus position on the lens using a permanent marker, silver sharpie or a piece of tape. Once you know the exact focus position of your lens, you can move it during the night.
You can also try shooting the Northern Lights in a dark room. If you’re lucky enough to catch a brief glimpse of the aurora, you can set the ISO on your camera to around 1600 or 3200. This way, you’ll get sharp images of the lights. Alternatively, you can use the infrared light in your studio. However, if you’re lucky enough to find an Aurora, you can simply wait for a long enough time to capture it.
Set your camera’s shutter speed and ISO
To shoot the aurora, start by experimenting with different shutter speeds and ISO settings. While there’s no magic formula for shooting northern light, you can “feed” your camera with the most light it can handle. By adjusting these settings, you can capture the colors and shapes of this ethereal phenomenon. If you haven’t tried it yet, check out our video to get a quick overview of this technique.
First, make sure you have a fully charged battery in your camera. Remember that batteries lose power faster in cold weather, so always keep one in your coat’s pocket. Next, make sure you shoot in RAW format, as this will capture all the data from your camera’s sensor. But remember that RAW takes up a lot of memory, so be prepared for a lot of trial and error!
Adjust your camera’s aperture
To capture images of the Northern Lights, you will need to know how to adjust your camera’s aperture to the maximum value. You should also know how to use the focus ring to manually focus on a distant subject. Before your photography session, focus manually or automatically on the subject. Using the live view mode of your camera, zoom on the distant light and move the focus ring to a sharp point.
The shutter speed used in a photo can vary dramatically. Depending on the scene and the camera settings, shutter speed may vary anywhere from 2.5 seconds to 10 minutes. To get the best results, experiment with different shutter speeds and apertures. Once you are comfortable with the settings on your camera, you can experiment with different settings and find the one that gives you the best results. Keep in mind that the Northern Lights are often very faint in the sky. Using a longer shutter speed will help you get a clearer and more detailed photo.